For novice contact lens users, distinguishing the positive and negative sides of contact lenses is sometimes not very easy. Today, we will introduce three simple and practical ways to quickly and accurately distinguish the positive and negative sides of contact lenses.

FRIST
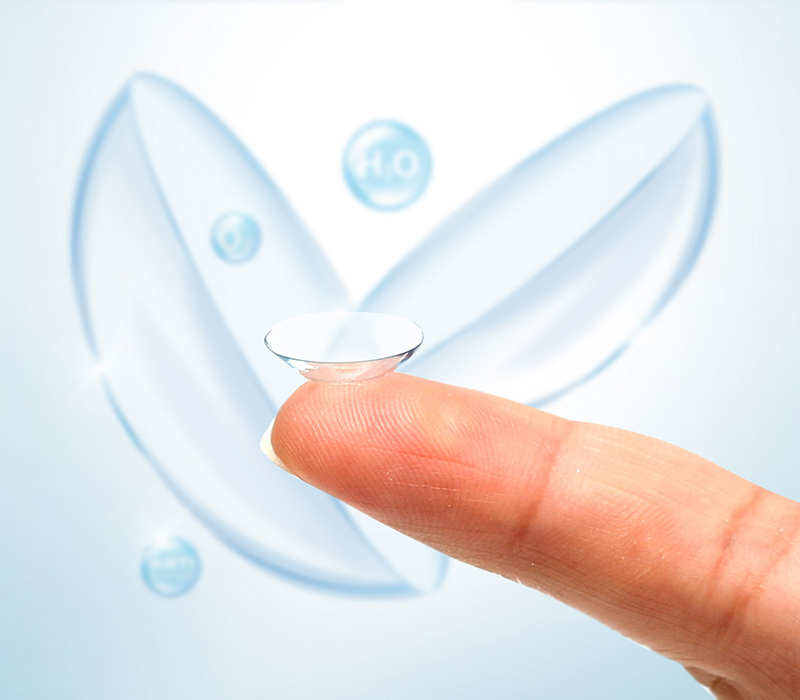
The first method is the more familiar and commonly used observation method, very simple and easy to see. You need to first place the lens on your index finger and then place it parallel to your line of sight for observation. When the front side is up, the shape of the lens is more like a bowl, with a slight inward edge and a rounded curve. If the opposite side is up, the lens will look like a small dish, with the edges turned outward or curved.
SECOND
The second method is to place the lens directly between your index finger and thumb, and then gently pinch it inward. When the front side is up, the lens tucks inward and returns to its original shape when the finger is released. However, when the reverse side is up, the lens will flip out and stick to the finger and often does not regain its shape on its own.


THIRD
This last method is mainly observed inside the duplex case, as it is easier to distinguish the pigment layer of colored contact lenses through the white bottom. A clear pattern and soft color transition on colored lenses is front side up, while when the reverse side is up, not only will the pattern layer change, but the color transition will also look less natural.

Although contact lenses are not much affected by being turned upside down, they can cause a more pronounced foreign body sensation when worn in the eye and can also cause some physical friction to the cornea. Therefore, it is important to follow the standard practice of wearing and cleaning contact lenses, and not to skip any steps just to be lazy.
Post time: Aug-29-2022


